Staff Application Preferences - Initial Setup
These preferences are the most important to complete before starting to use Clio
Logging In
When you received your 'Welcome to Clio' email you should have received your staff application URL and the login details.
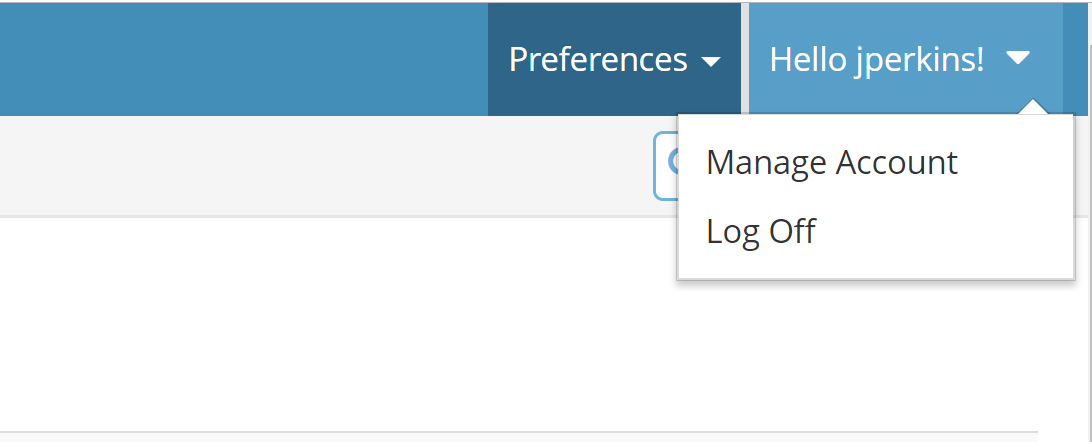
Once you've logged in you can change your password by choosing Manage Account from the menu in the top right corner of the page.
Once you've logged in you can change your password by choosing Manage Account from the menu in the top right corner of the page.

Creating More Clio Logins
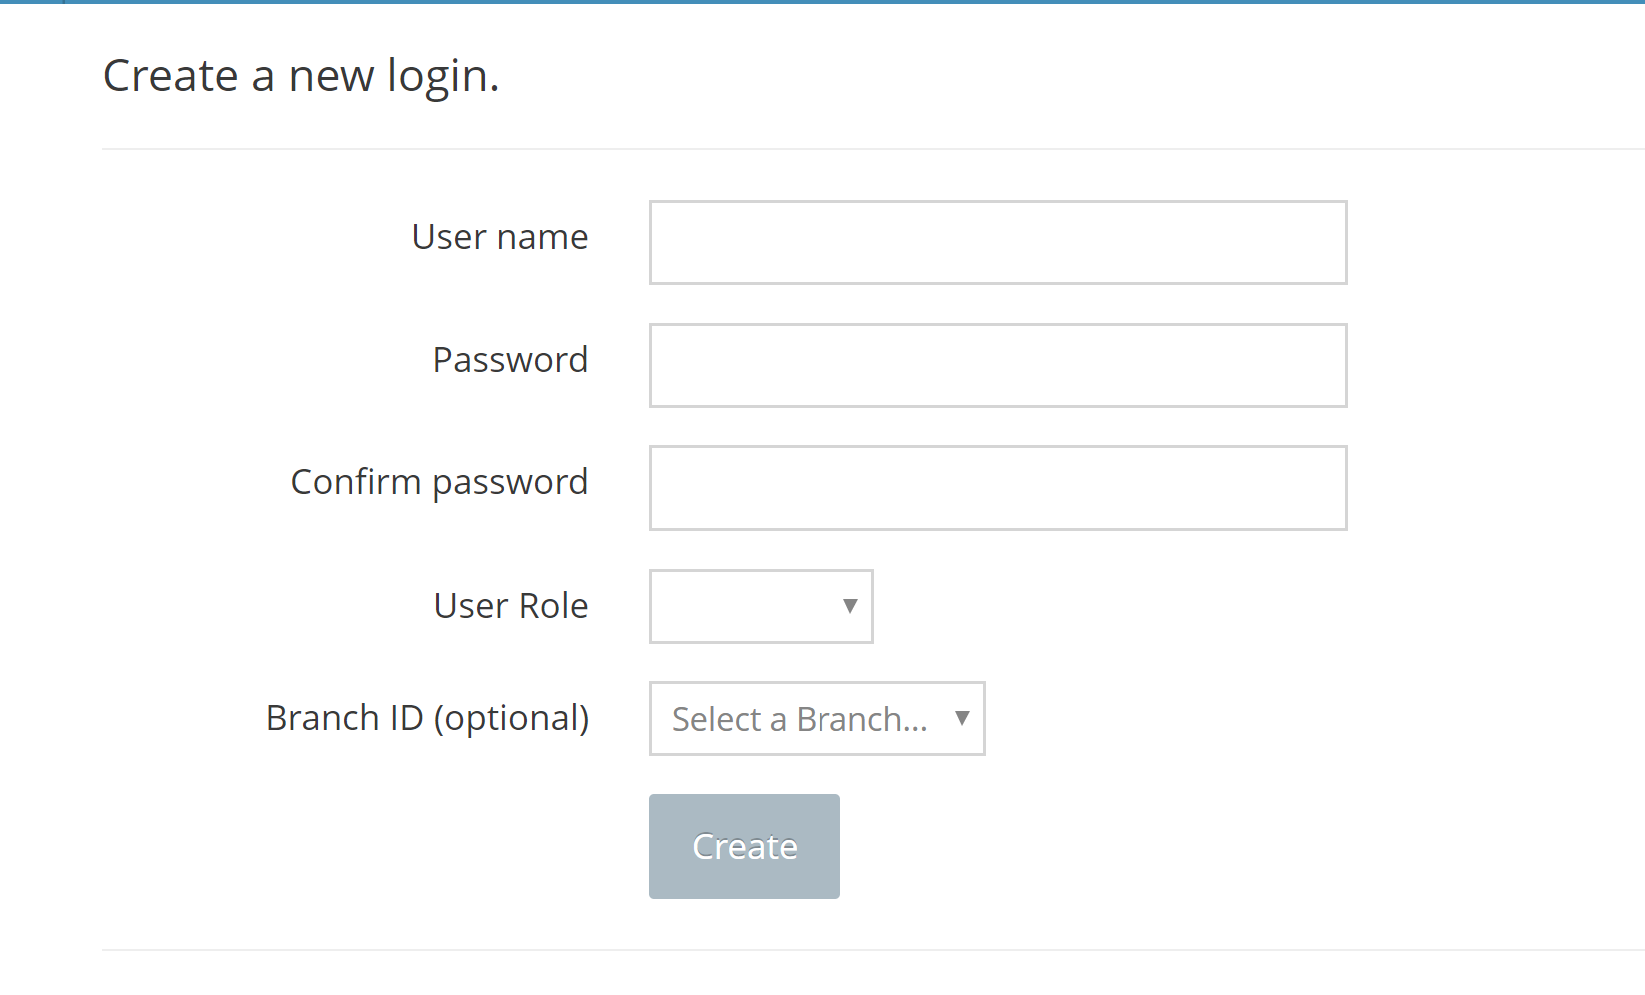
You were provided with one master login for Clio but you should create a new login for each person who will need regular access to Clio. From the main Borrowing page, select Manage Clio Logins from the Management side-bar menu. You might create shared logins for people who only occasionally use Clio - reference staff, perhaps.
Assign a user name and password – and then choose a User Role. There are four main choices – Admin, ILLStaff, Branch and FrontDesk. An Admin login can access everything in Clio. An ILLStaff login can access the Staff Area, which includes most day-to-day functions – but they can’t access certain advanced features (such as Management or Preferences menus). A FrontDesk account can only access updates and read-only access to records. A Branch account allows full access to requests for that Branch ID only (include the Branch ID in the new user form - see the Some Lists section below if you haven't created your branches yet). For more information about specific permissions and configurations, contact Clio technical support.
You can also use this page to modify the role a user has, or delete a user when necessary.

Preferences
In the Staff application, there is a Preferences menu in both Borrowing and Lending sides of Clio (use the Go To...menu at the top of the page to switch between Borrowing and Lending). The Clio account you were given initially should have access to these preferences.
This document will walk through the most important preferences to set up before starting more testing with Clio. In most cases these should be straight forward, but in some cases (typically the Outgoing Emails section) they will be something you return to as you put some requests through your normal workflow and decide how you want Clio to work.
On many of the preference pages, there are question mark icons which provide a little more information in a 'tool tip' when you hover your cursor over the icon.
Borrowing - General
On the Borrowing side (choose Go To Borrowing in the header menu if necessary), there is a preferences item for General settings. Here you should tell Clio which external systems you use. You also indicate your default supplier. If you ever use the British Library or Rapid, it's recommended that you select them as the default destination. Even when you don't send requests there, Clio will have a chance to use some of their automated lookup tools if you select them as a default destination. (You'll always have control over where requests are ultimately sent)
You can also indicate how you want Clio to do things, such as displaying request event history, displaying request totals for important categories and which ID number you usually use when updating requests.
Check the 'tool tip' icons for more details and get in touch with Clio support if you're not sure which options to choose.
Lending - General
On the Lending side of Clio (choose Go To Borrowing in the header menu if necessary) the options in the General preferences are similar to those in Borrowing. You can tell Clio which external systems you use, and how you want top-level features to work, such as event order display, and request totals display.
As always, get in touch with Clio support if you're not sure which options to choose.
As always, get in touch with Clio support if you're not sure which options to choose.
Connecting to External Systems
Clio will need to communicate with any external system you use.
See more information here:
Docline
OCLC
Rapid
British Library
See more information here:
Docline
OCLC
Rapid
British Library
Some Lists
Clio has a few structured lists - Status, Department and Branch. In the Preferences menu (from either Borrowing or Lending sides of Clio) you can edit these lists. In each list you can enter a code and display text for each entry. The code is what will be stored in the database and used in statistics reports. It should be something short and simple, whereas the display text can be more human-friendly. So you might choose a code of 'Bio' and a display text of 'Biological Sciences'.
For the Department and Branch lists you can also include contact details (name and email address) for any departmental or branch person you might want to email about their requests.
BranchIDs can be used in other places in Clio - like user logins or addresses - to help Clio choose the correct defaults for requests that come in with a BranchID. If you will be connecting Clio with your LMS, you will probably want to use BranchIDs that match the Branch names in the LMS.
Mailing Addresses
From either the Borrowing or Lending side of Clio there is a 'My Addresses' option in the Preferences menu.
You will see a default address record you can modify - and then add further addresses if necessary. If an address is only used as a shipping or billing address, for either borrowing or lending you can indicate that as well - otherwise you can select 'All'.
Give the address a short and simple unique nickname in the Address ID field (something like 'Main' or 'Billing').
If you have different addresses for different Branches, you can use the Branch IDs as the Address ID and Clio will automatically choose those shipping/billing addresses for requests from that Branch.
Otherwise, Clio will use the first appropriate address in the list, so place your most 'usual' addresses at the top of this list.
If you use OCLC, be sure to follow their rules for how states should be formatted, including the country code first (US-CA for California or US-CO for Colorado for example)

Due Dates
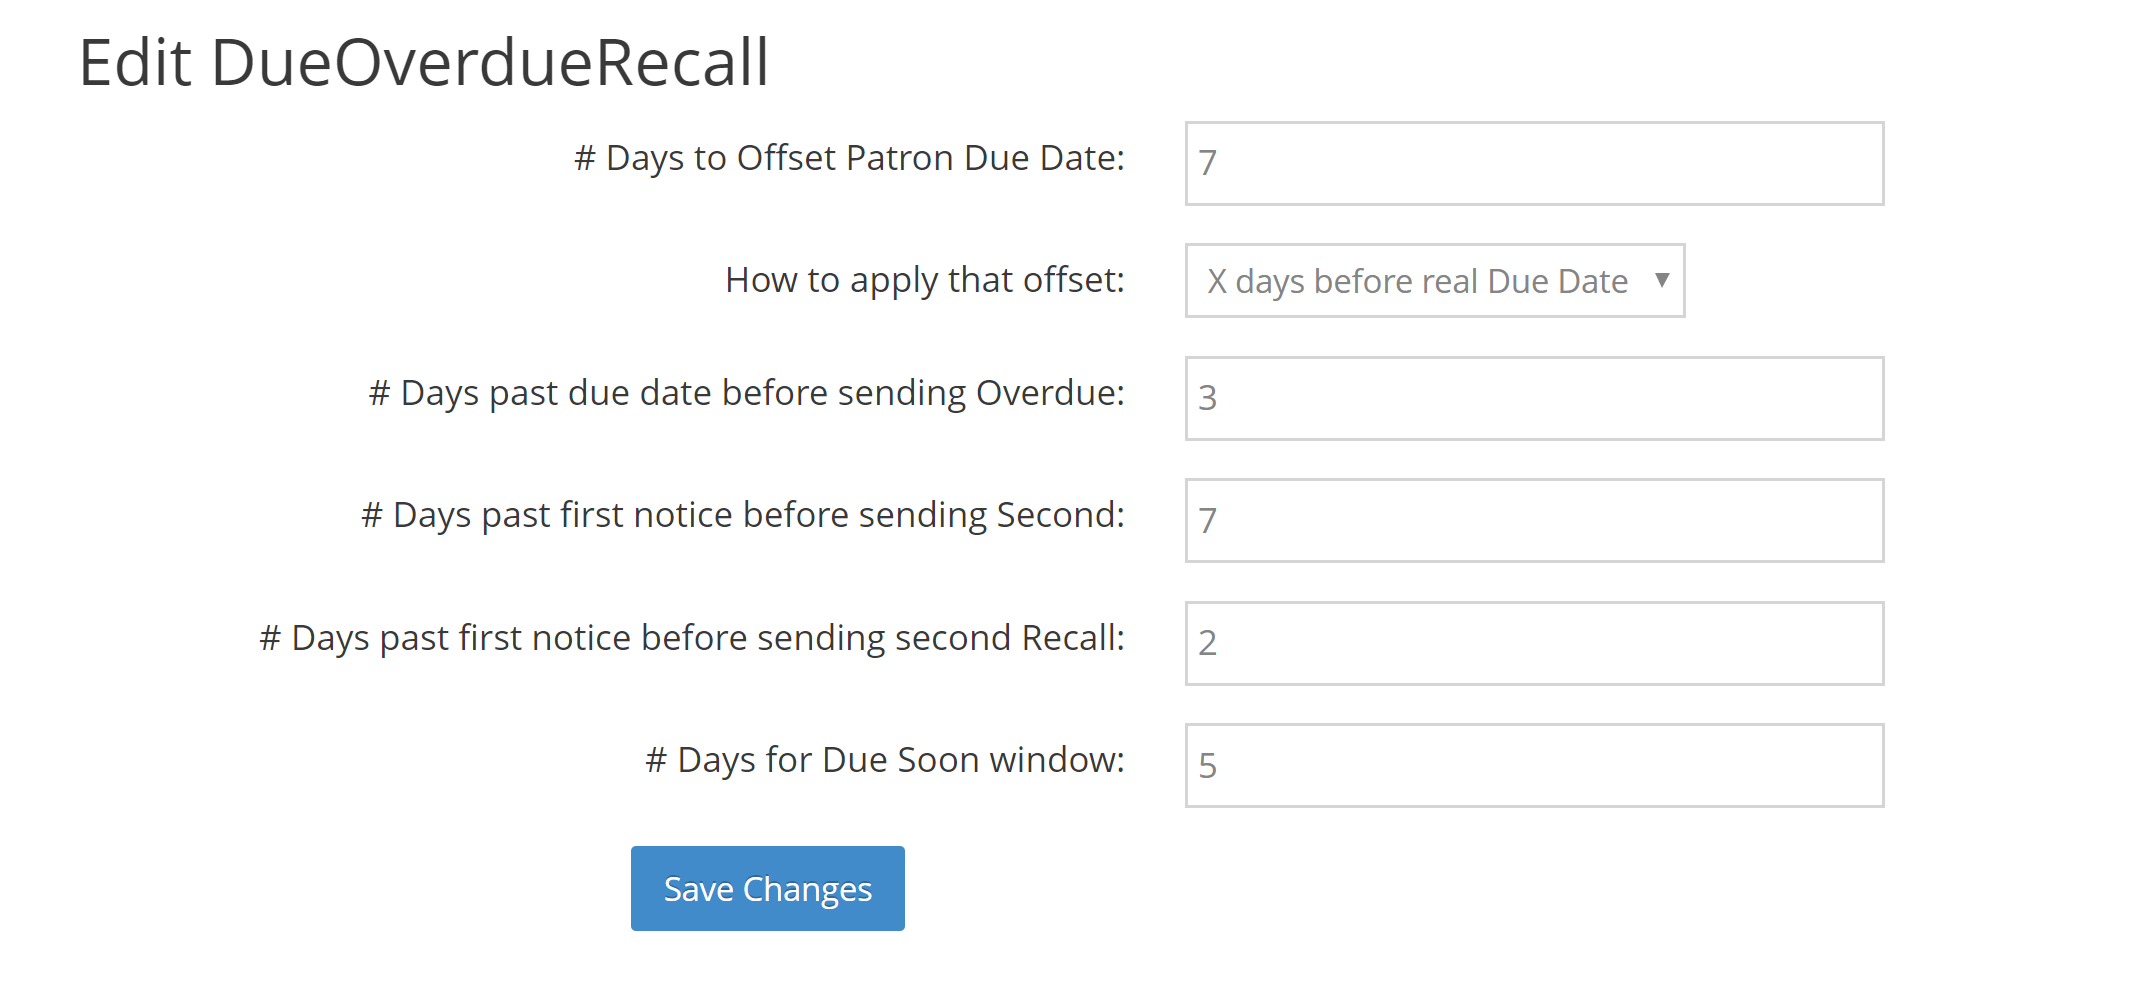
From the Borrowing side of Clio there is a 'Due Overdue Recall' option ion the Preferences menu.
Here you can tell Clio how to handle due dates and the time periods for overdue, recall, due-soon notices.
Whenever Clio is told of a due date (when communicating with an external system or when library staff update a request) Clio can adjust the due date shown to the patron. Library staff can always adjust this when updating, but if you would usually like to remove five or seven days from the due date provided by the lending library you can tell Clio to do that here. Alternatively, if you usually prefer to give patrons a fixed loan period you can make that choice here as well. This Due Date setting is the most important to set during this initial setup process.
The other settings on this page control when Clio will prepare different types of notices. You can always return to this preference setting later, so during this initial setup process you should take a first pass at these settings but don't worry about getting them perfect now.

Lending Defaults
On the Lending side of Clio there are default settings used when updating requests to Yes-Copy or Yes-Loan. These are found in the Copy Defaults and Loan Defaults Preferences menu options.
More information about how these are used can be found here
More information about how these are used can be found here
Email General Defaults
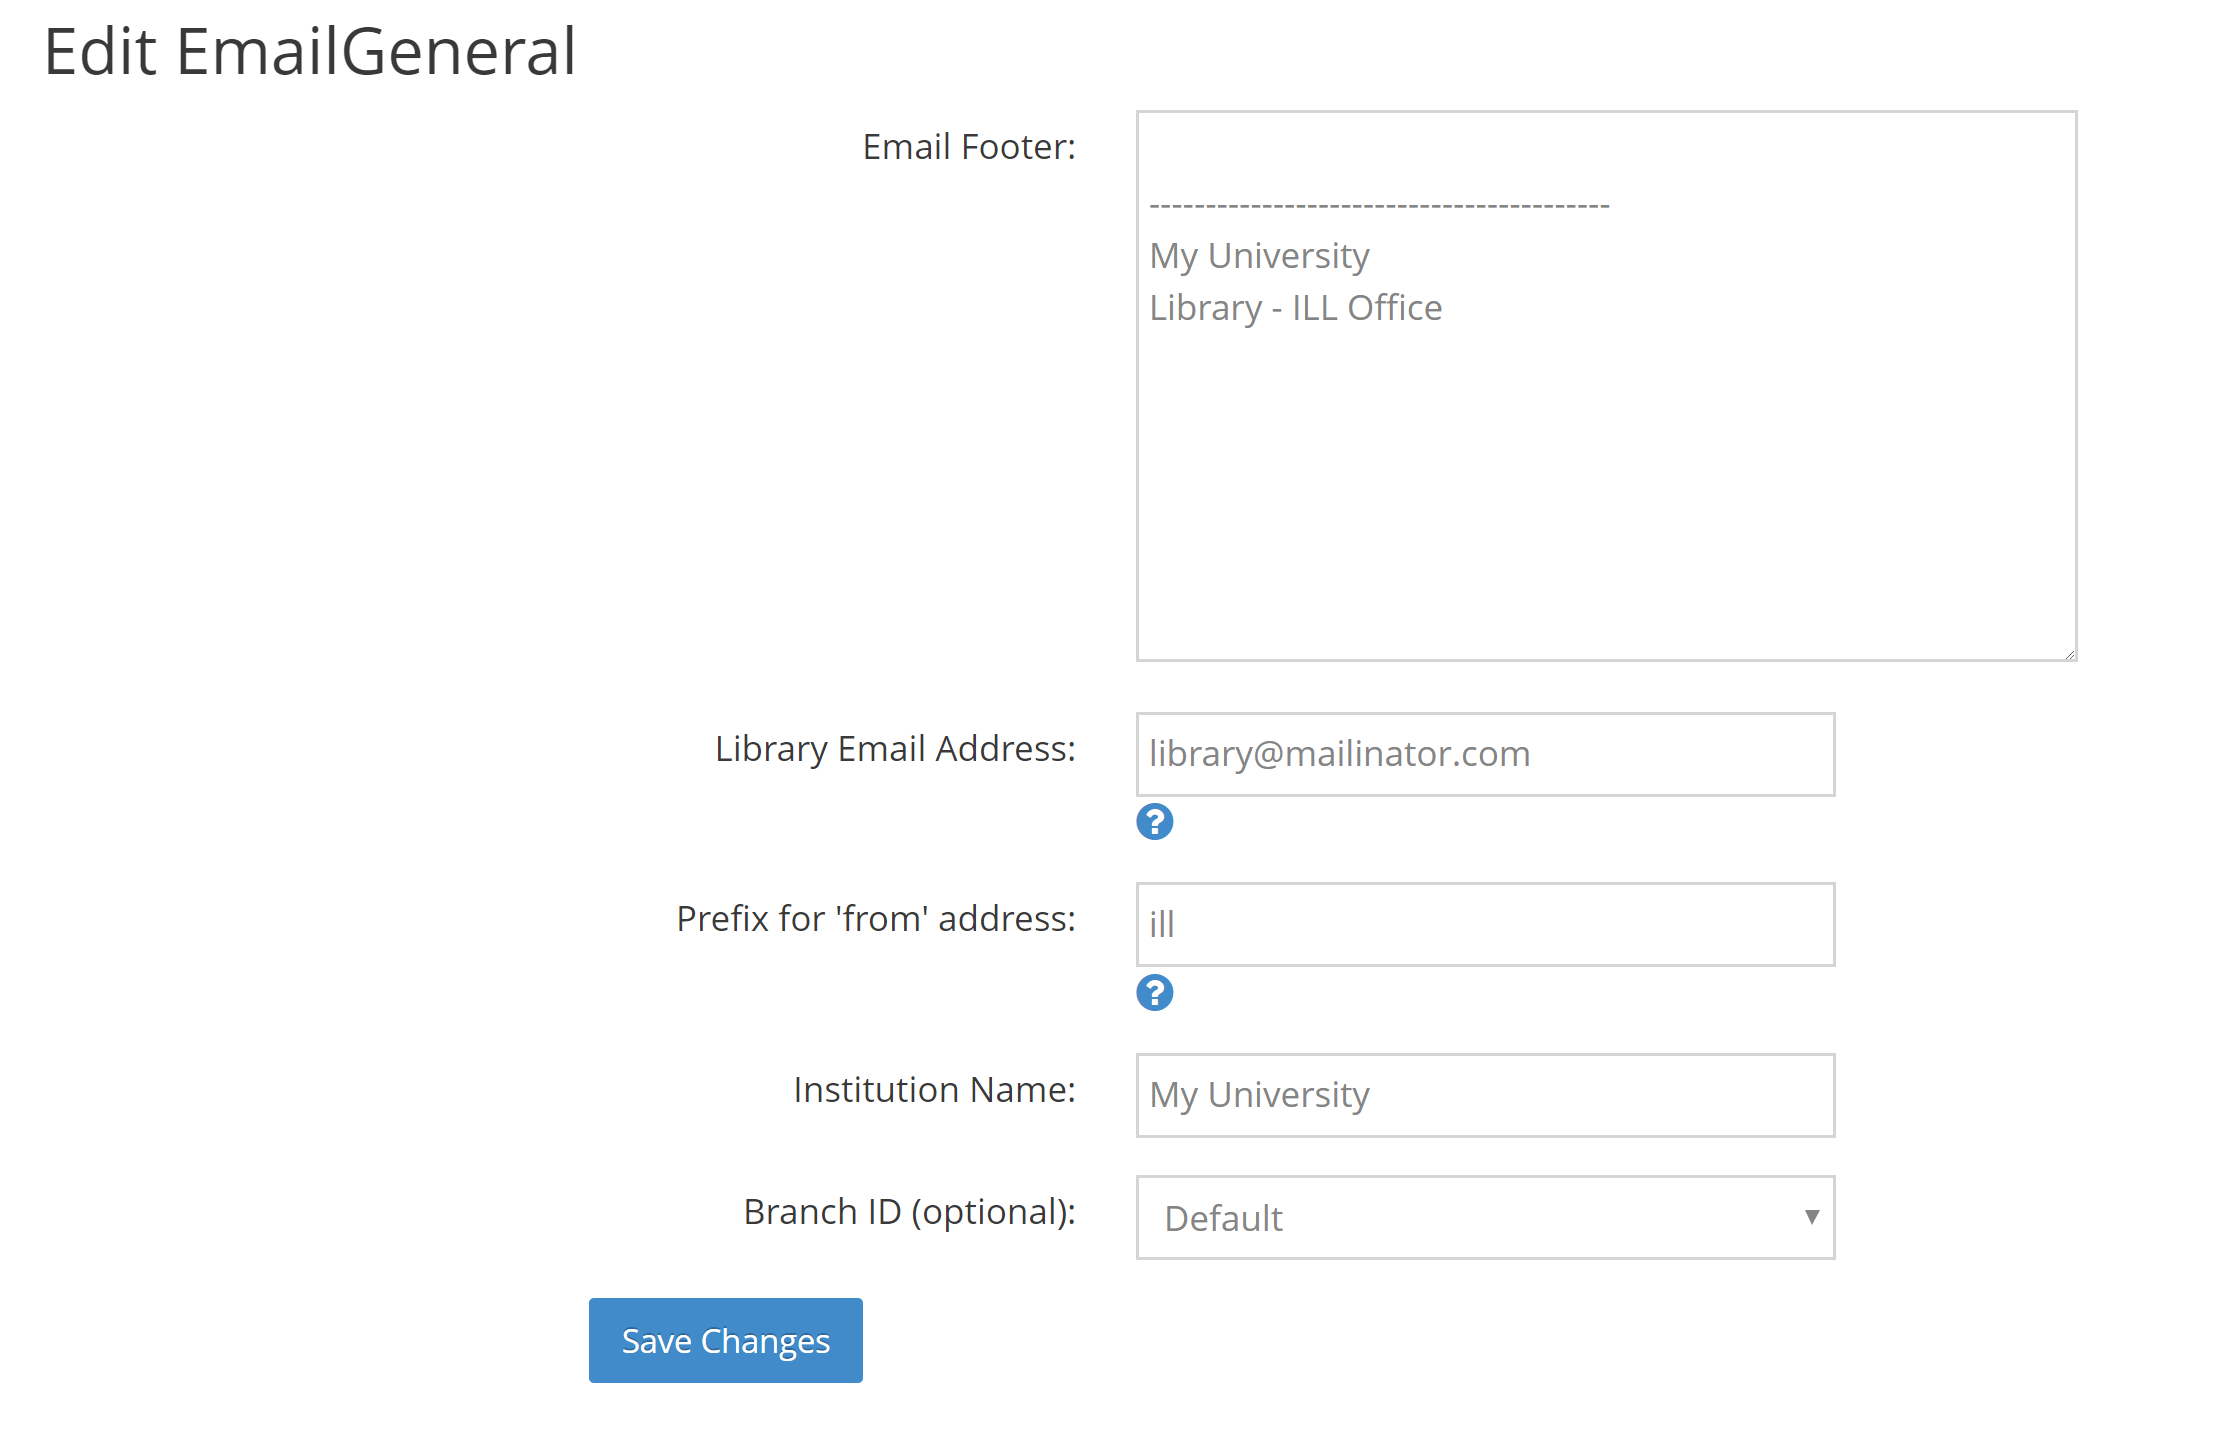
From either the Borrowing or Lending side of Clio you can select the Email General option in the Preferences menu.
Here you can provide Clio with your standard email footer, which can be appended to the end of emails that Clio sends. You can turn the email footer on or off for individual emails, but any text you generally place at the bottom of your emails should be entered here.
You should also include the library email address (the address will be placed in the 'reply to' portion of the emails) and the library's institution name.
The prefix for the 'from' address allows you to adjust the from address Clio uses. Clio uses its own address as the 'from' address so that the email messages are less likely to be blocked or marked as spam (as they would if Clio used your library's email address as the 'from' address). While the 'from' address will be in Clio's domain, you can still have some control. You can enter something short and simple here (lib or ill are common choices but you could use part of your institution name here), something that would be allowed as part of an email address.
If you need to have separate Email General settings for each branch within Clio, you can add settings for each Branch ID here. Be sure that you have left the Branch ID blank for one setting (or choose 'Default' as the branch) so that Clio will have appropriate settings for all requests.

Emails
Clio can send many emails for you - some automatically and some initiated by library staff. During the initial setup process you will probably be a bit unsure of precisely which emails you want Clio to send. You can make a first pass at this point, creating the emails you are most likely to want to have Clio send for you - and then return to the email setup area later as you fine-tune your decisions. Information about setting up emails can be found here
Next Steps
Once you've completed the settings in this initial setup preferences, you can start to create some test requests in Clio and put them through your normal workflow. This is very important, as it will give you confidence and experience before moving to Clio for your live workflow.
If you are connecting to external systems, be sure not to interrupt your daily workflow until you're ready to use Clio 'for real' (so we wouldn't suggest automatically downloading things like new Lending requests from OCLC).
You can also take a look at the other items in the Preferences menu. They allow you to control how Clio behaves - filling the various drop-down lists for things like shipping methods or OCLC conditional messages.